

EDIT:More powerful cloning is explained here
http://www.murga-linux.com/puppy/viewtopic.php?t=54231
I have just upgraded my IBM desktop which has Windows XP installed.
This is the documentation of the process. I tried to
do it as simply and cheaply as possible with free Windows software .
_______________________________________________
Software required:
DriveImage XML- (Free for home use).
http://www.runtime.org/driveimage-xml.htm
Software to make a NTFS partition. (Windows has this built-in)
I needed Puppy linux as well (explained further along in this post).
____________________________________
Supplies- A brand new hard drive, a cable (Sata in my situation), a spare book
__________________________________________
To keep the process simple I kept the original hard drive in place and
booted from it.
I installed DriveImage XML 2.5 Private Edition- (Free for home use).
http://www.runtime.org/driveimage-xml.htm
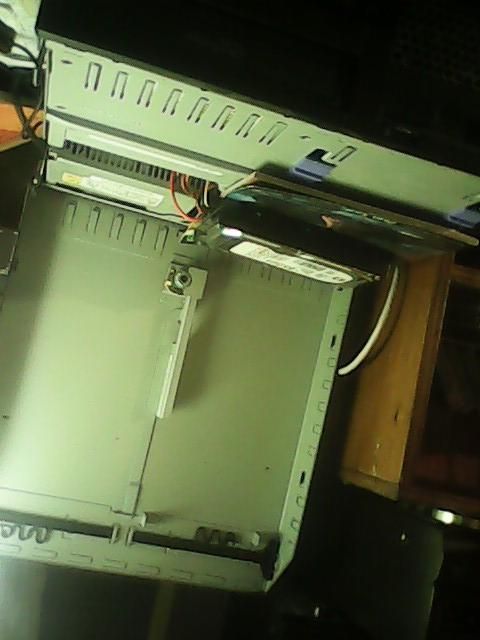
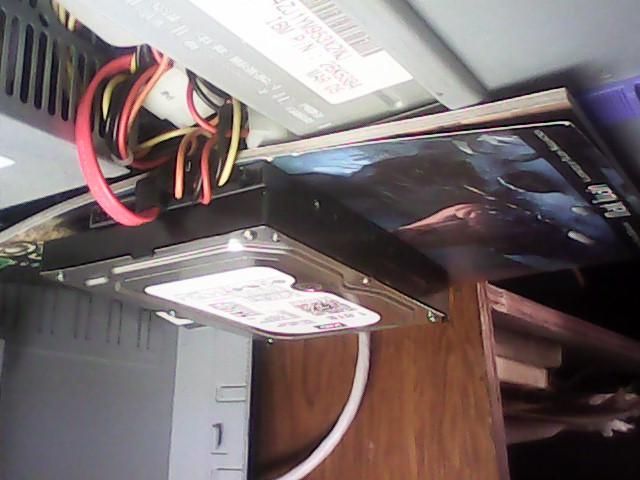
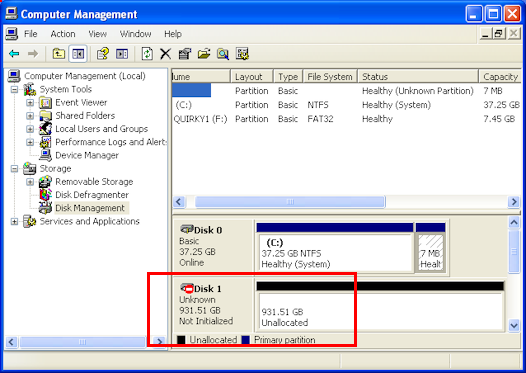
Next step: I connected the newly bought unformatted hard drive (1 TB Sata)
NOTE: turn off power and ground your hands to a metal object when
working inside of a computer.
There are two possible methods to connect this hard drive to my desktop.
One method is to buy a USB2 hard drive enclosure and connect with a
USB2 cable (see image).
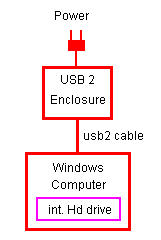
A SATA drive requires a SATA enclosure, a PATA drive requires a PATA (IDE) enclosure
After the cloning is done you take the hard drive out of the enclosure and
do a replacement with the old drive. If it is a PATA drive then be careful
to set the master/slave switch properly.
However this is awkward and possibly expensive, so I used a second
method (See image).
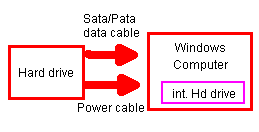
Most desktops have a second SATA connector and a second power cable,
so I took advantage of this.
I connected the new hard drive to the SATA connector with a new SATA
cable. You could borrow a cable from a friend to avoid the purchase.
A book is placed underneath the hard drive to avoid touching any metal .
DriveImage XML will only copy NTFS or FAT disk partitions!!!
After copying your Windows installation you will have to use other software for linux partitions.
DriveImage XML does not do formatting so you must make sure
that a destination partition exists.
If necessary, create a new NTFS partition with Windows Disk Management
(or any other program that does formatting of a partition).
To launch Windows Disk Management I typed 'compmgmt.msc' in the terminal or use the control panel.
According to the software's instructions you do not need to format the
drive. It just needs to be recognized. However I did the formatting to be sure.
It took Windows about an hour to format 850GB of 1 TB hard disk.
This left plenty of space for a linux installation.
Right click on the partition and make it 'active' which means it is
bootable.
DriveImage XML is simple to launch and set up. Other applications should be quit.
I clicked 'Drive to Drive'
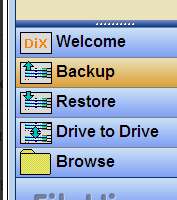
Source and Destination partitions were chosen.
I used the default settings. I didn't tick off raw mode since ticking it
doesn't allow resizing of the copy to a partition.
Volume locking was ticked.
NOTE: The Windows installation must be healthy otherwise bad sectors
will mess up the process. Users have reported that if raw mode is used
then they have had success in copying a partition with bad sectors.
The copying will take some time, so take a coffee break.
After copying the partition , the old hard drive is taken out of computer
and replaced with the new hard drive. If it is a PATA (IDE) hard drive
then the master/slave jumper must be in correct postion.
Be sure that power cables are connected and close the computer case.
If you try to start your computer it won't work!! You will just get a prompt. That's because
there is no MBR (master boot record)
You must create it!!!
I booted the computer with a CD of puppy linux and ran GRUB4DOS v1.7 (or more recent).
This app creates the MBR. Run gparted as well to see if the
partition is listed as bootable. If it's not then use gparted to make it bootable.
Now I can start up the computer with the usual Windows screen. I have
over 100GB unused space for a linux install.
__________________________________________________________________________