using Firefox.
I pasted the link into a google search box. Then I had to click
'repeat the search with the omitted results included. '
Then I saw a search result that had a translation.
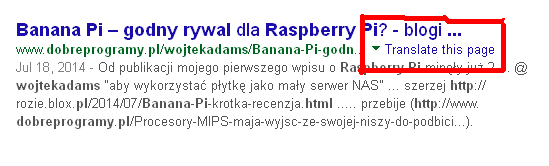
or alternatively go to https://translate.google.com/ and paste address
______________________________________________