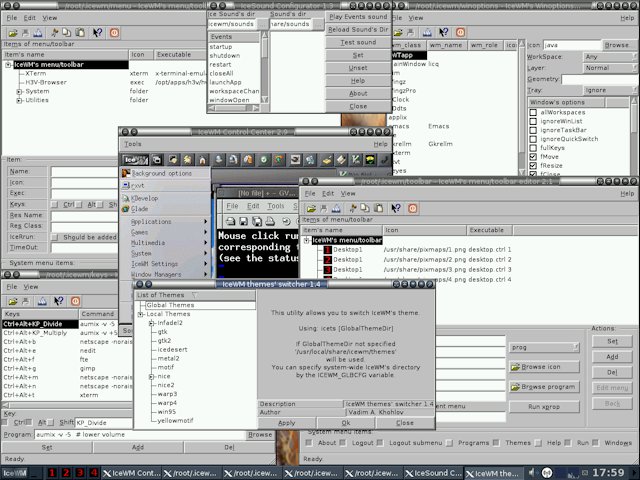
This is an experiment for me to create something useful for theme changing from Terry's mk-save.gtkdlg script. It works but any improvements are welcome.
Archive containing the files available for download:
http://smokey01.com/saintless/DebianDog ... eme.tar.gz
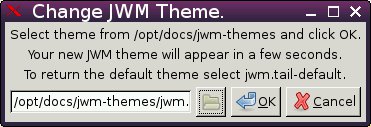
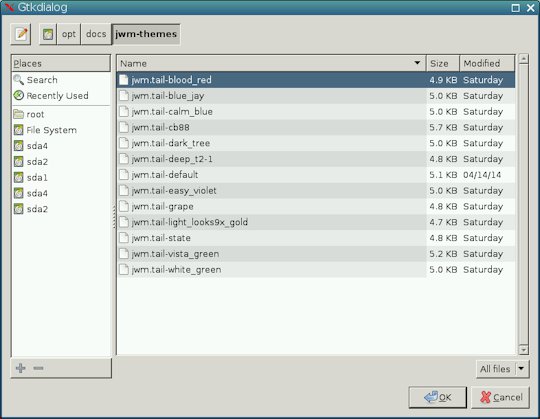
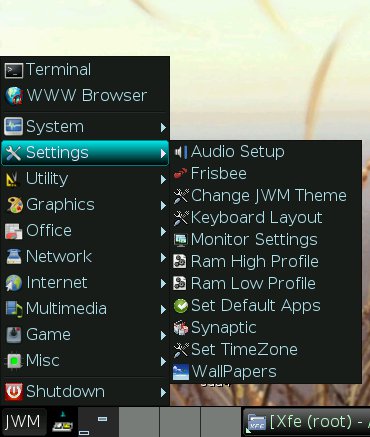
Start it from Settings -> Change JWM Theme to start the GUI and follow the screen instructions. 12 new themes from Puppy added in /opt/docs/jwm-themes.