

Please use a recent version of mtPaint ( not version 3.31 !! )
Note that this method works with indexed images and RGB images.
Note that if you try to paste a RGB clipboard into
an indexed image then nothing will happen!!
In fact the menu item will be greyed out.
The solution is to convert the indexed image to a RGB image,
using the menu item.
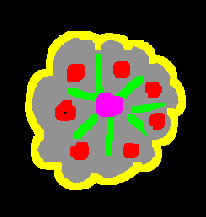
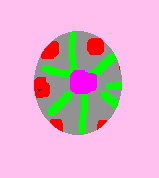
Let's start with an indexed image. Make a drawing of a flower.
(save a copy to disk just in case you screw up)
Make a layer on top of image
Layers > New Layer
Show the Dock
View > Show Dock
Tick the option 'Show all layers in main window'
With the transparency color =0 , the bottom layer will show through
the top layer. i.e. black is now the transparent color for
the top layer.
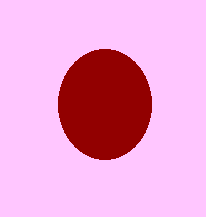
Choose a color that you didn't use in your drawing,
in this case color # 16 among the index colors ( a dark red)
Paint with color # 16 the mask cutout that you want,
either with a paintbrush or do a fill of a freehand selection
(see image)
The next steps are very important. Do them exactly as instructed!!
TURN OFF the transparency of the top layer i.e. make
transparency color = -1
Select entire top layer.
Selection > Select all
Copy top layer and then paste it in bottom layer.
Delete the top layer ( or at least make it invisible)
This next step is very important and very easy to forget!!!
Set both color A and color B to the color that you
used to paint the mask cutout ( in this example it's #16)
Choose from menu
Selection > Mask Color A,B
Press ENTER then ESC to place the selection permanently.
That's it . Easy wasn't it... but it's easy to make a mistake
so practise several times till you understand and can
do it blindfolded.
________________________________________________________--
Here's some extra practice.
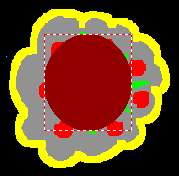
It's possible to have a color other than black around your
mask cutout.
Here's an example...
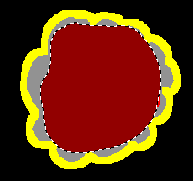
Modify the steps of the procedure so that pink is poured by
the paintbucket around the cutout area.
Now select the top layer . Copy it and paste in the bottom layer.
Set color A and Color B to #16
Choose from menu
Selection > Mask Color A,B
and the flower should be surrounded by pink now.(see image)
____________________________________________________
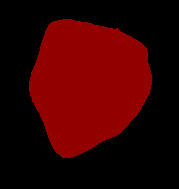
A cut out can be a perfect elliptical shape. Just use
the menu item
Section > Fill ellipse
TURN OFF the transparency of the top layer i.e. make
transparency color = -1
..but make sure you select the entire layer when transferring to
the bottom layer
Select entire top layer.
Selection > Select all
Here's the end result.
______________________________________________________
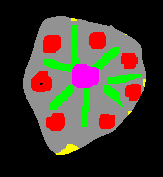
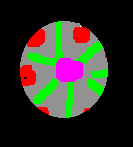
Here's a more advanced example...
Start with a picture of a star.
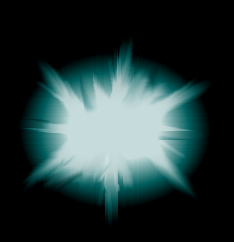
Make four cutouts with the color # 16 ( dark red)

The end result is four meteorites crashing together.

____________________________________________________